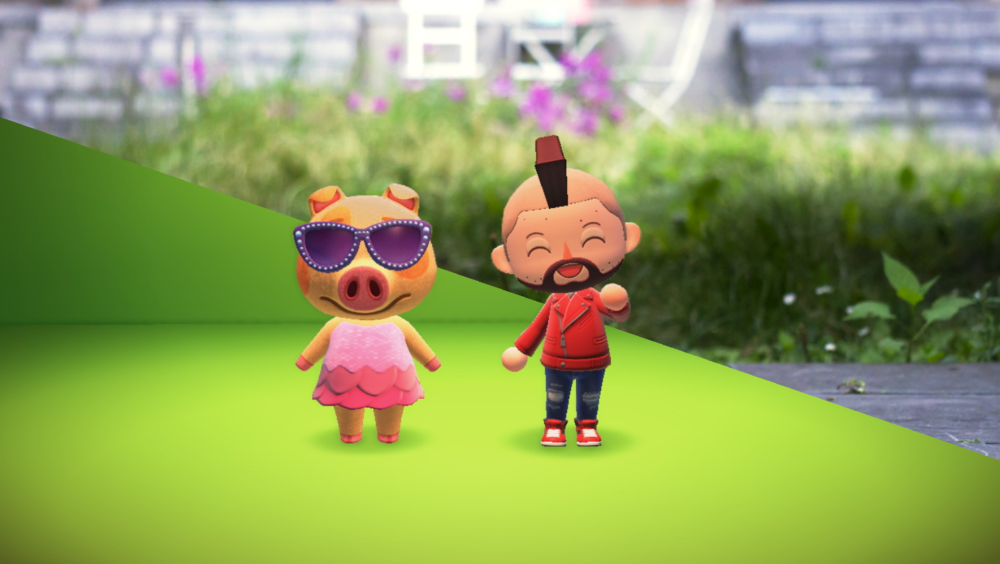
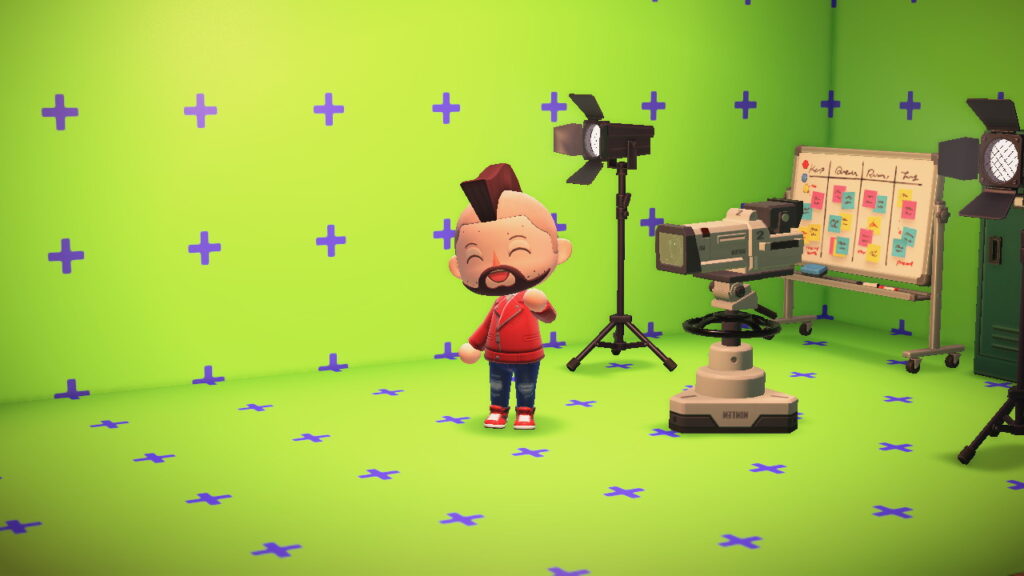
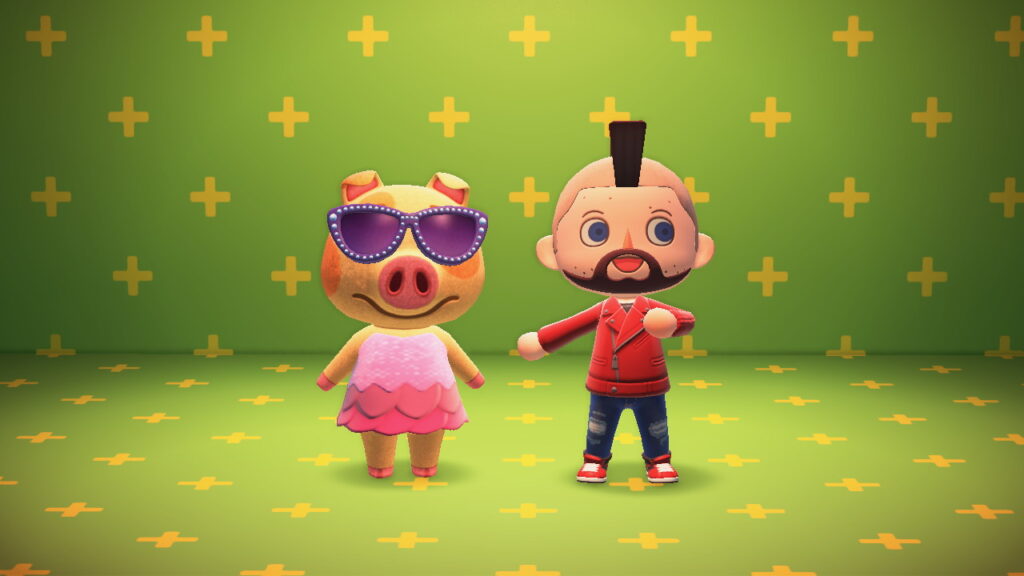
A few days ago, while playing Nintendo Switch’s Animal Crossing, I made a joke on Twitter that I had been able to create a VFX shooting studio inside the game with its green chromakey background and tracking markers. From there came a debate about why those backgrounds are used in movies and the possible complications they could have. I will try to explain it in the simplest way possible:
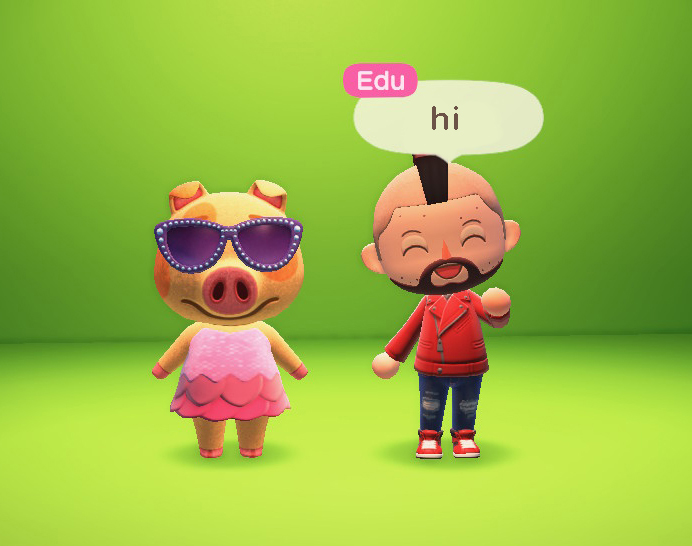
Since I saw that people had liked that I used Animal Crossing, to help me here I have Mini Edu and the little pig Maggie. Say hi guys!
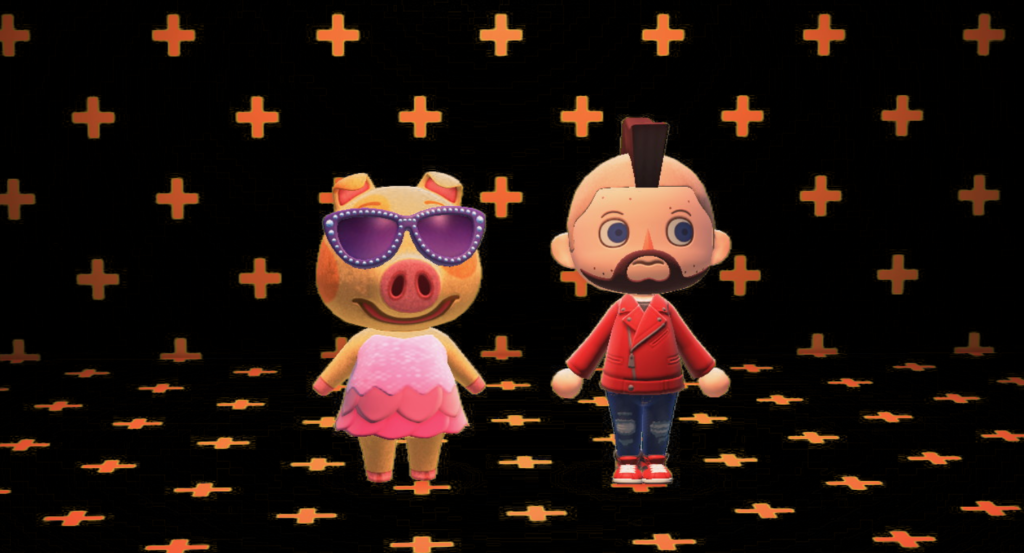
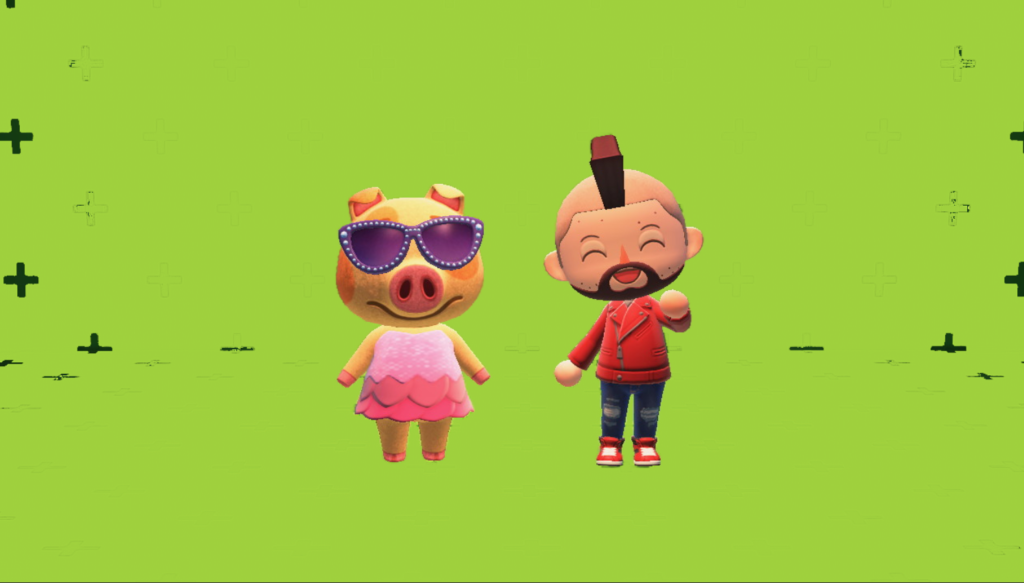
The chromas are basically parts of the set (usually backgrounds) that we eliminate in compositing. They are usually green or blue because they are the colors that are farthest from the red shade of the actors’ skin. In addition to the green color, they usually put some markers (usually in the shape of a cross) around the set. These have several purposes such as recreating the movement of the camera in the background if it moves or anchoring something at the distance that the markers are.
Markers of many types and colors are often used. Above all we look for contrast with the chroma key enough to detect them well… But sometimes this can cause some problems.
Red / orange markers: Quite problematic. Once we have made the chroma key disappear…
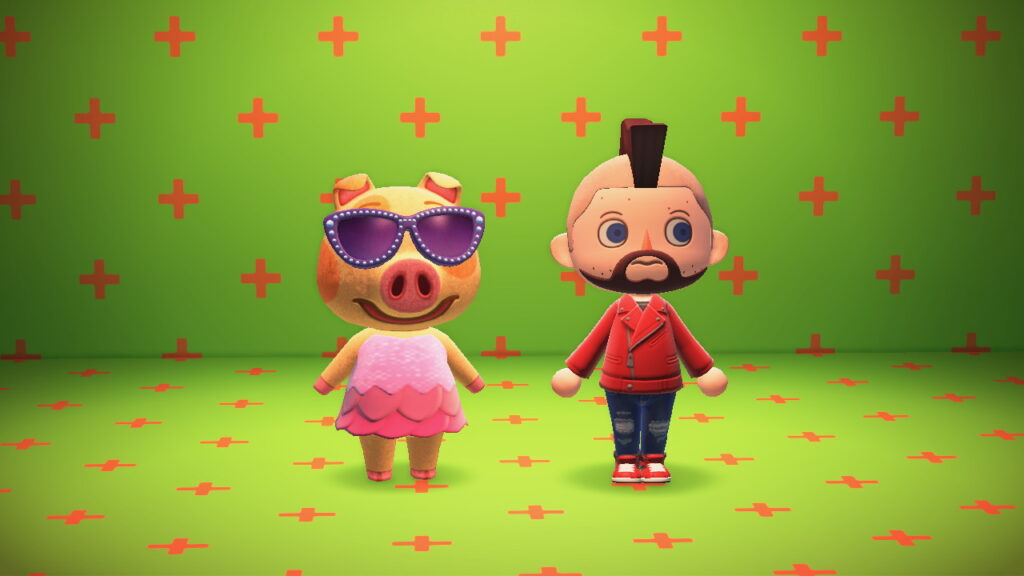
… the markers stay there because they are of a tone similar to that of the actors, of course.
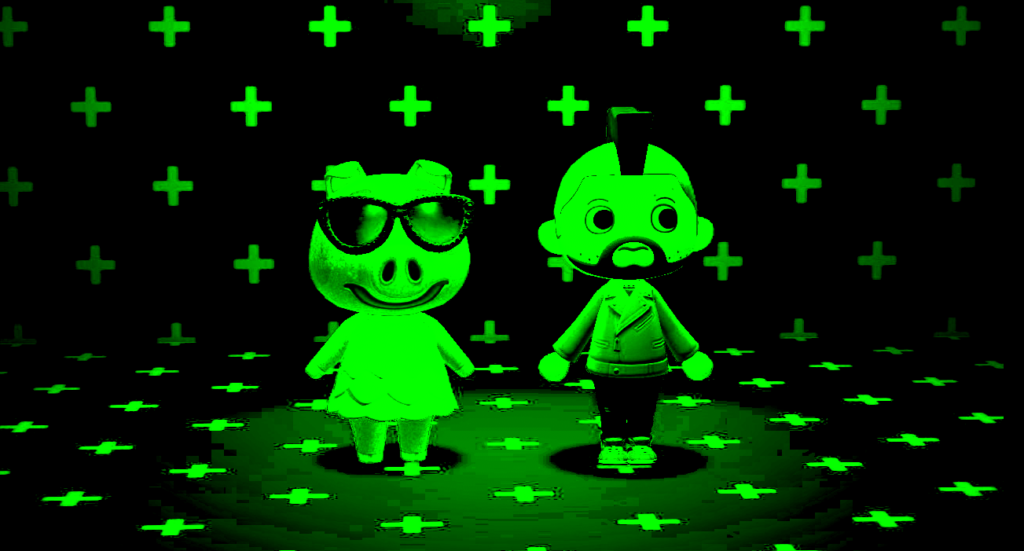
The image is composed of the Red, Green and Blue channels. The chroma key is based on green and here we can see how the markers directly pierce it. What you see below is the information of the green channel of the image.
One of the ways to solve this is, through some operations, to convert the red into a green tone before the process (called key).
But still if the markers are interfering with the actors (or with THE HAIR of the actors) you will have to do a manual cleaning by selecting the zones by rotoscoping. This can take hours. Considering that time is money… This is money thrown away.
I’m especially interested in the hair because it’s usually something delicate to treat. When this happens many times it has to be redrawn or reconstructed and it won’t look the same. Add it to the above and go on. Basically, red markers can be a tremendous nuisance.
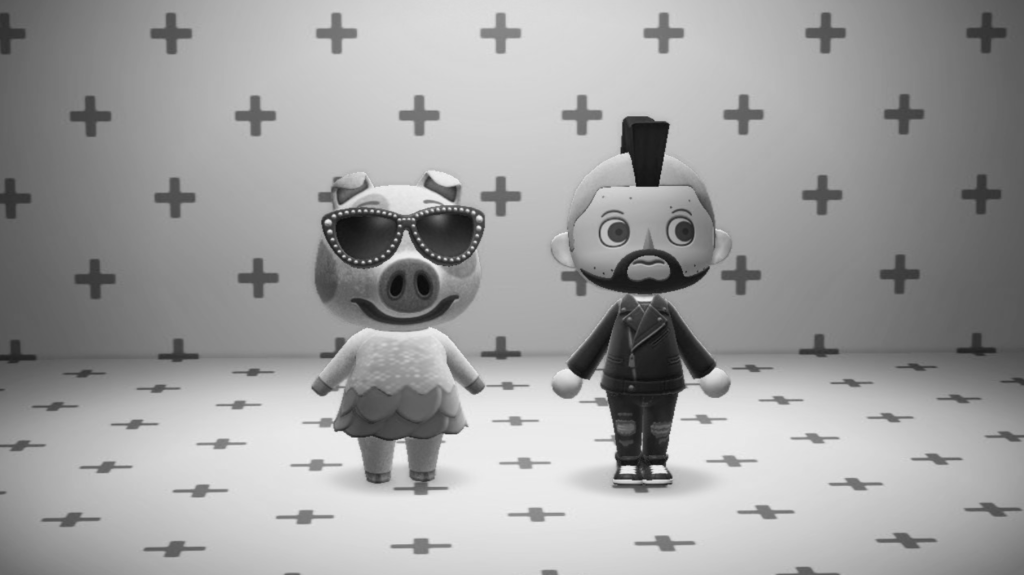
Blue markers: The blue being next to the green the other color that moves away from the red perhaps can help us more. Let’s see it:

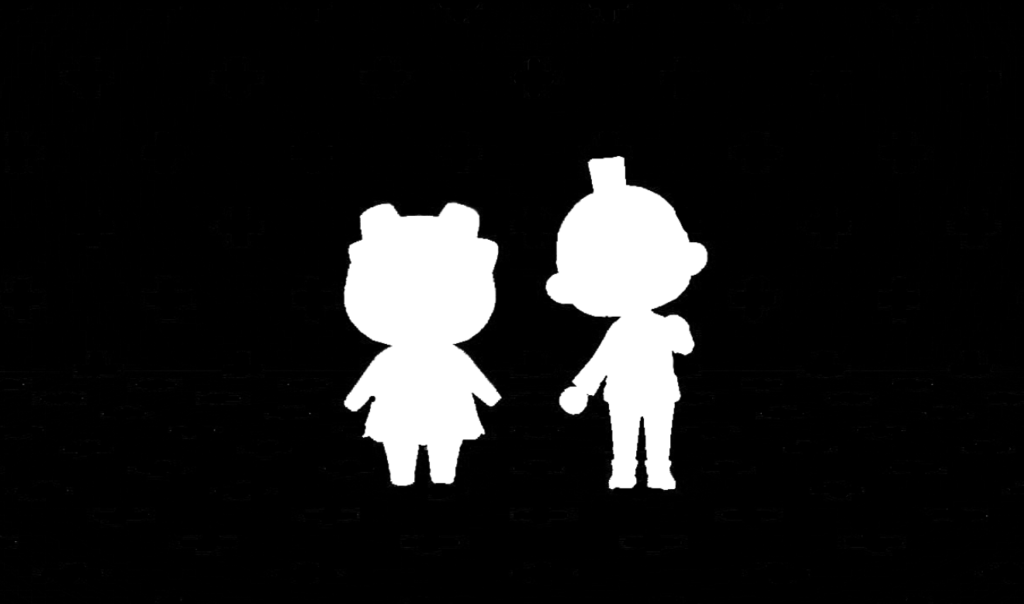
First of all, let’s get the green out of the way. In doing so we are left with this silhouette (the alpha) with what is not that color.
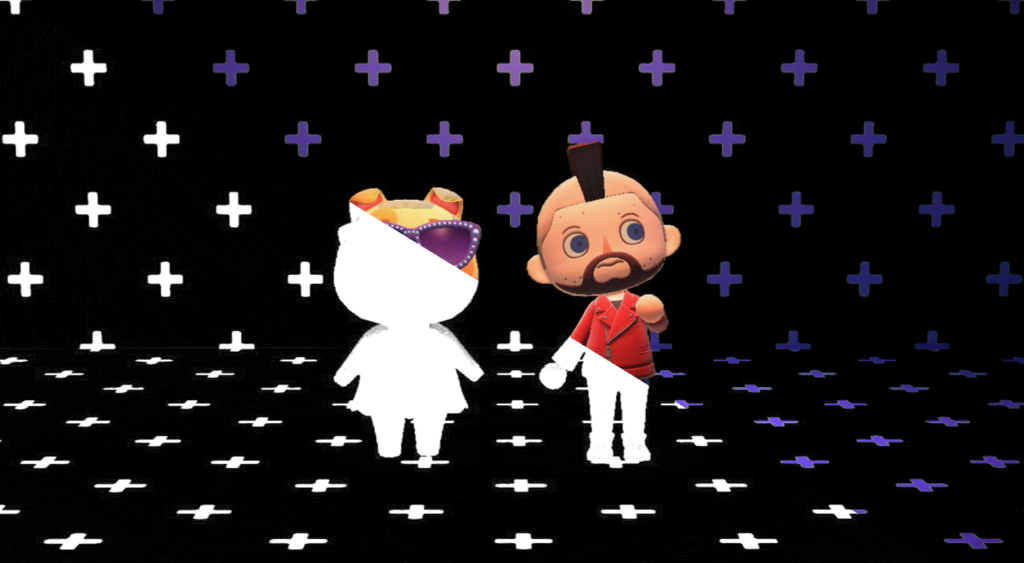
Then the same thing but with the blue, isolating it. Maybe here we have to correct something (the jeans or the eyes), but the blue will separate from the skin and hair better, so it won’t be as problematic as the previous one. We get the following:
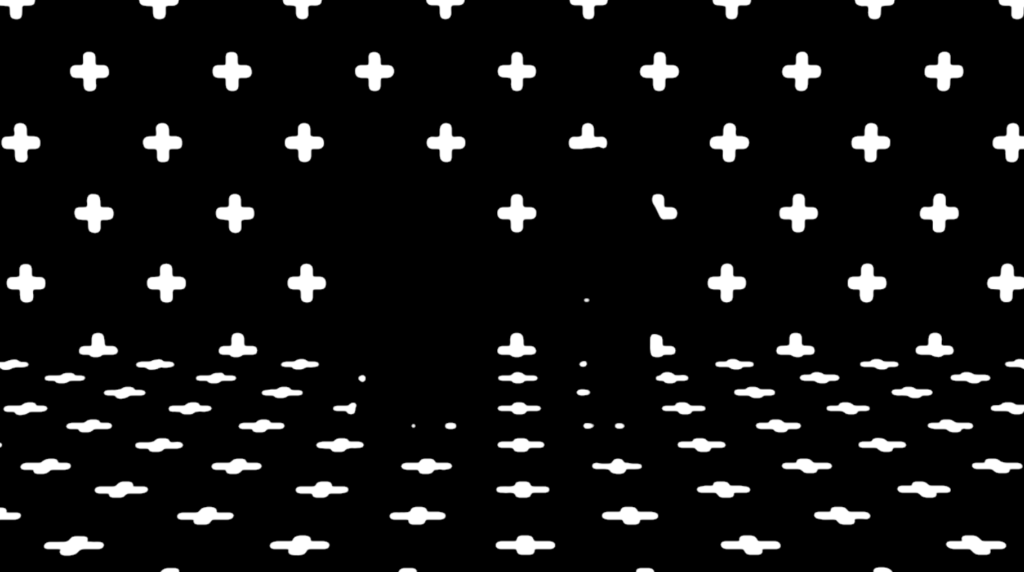
Let’s subtract what we got from the blue to what we got before the green. The result is this that already defines the silhouette of our friends:
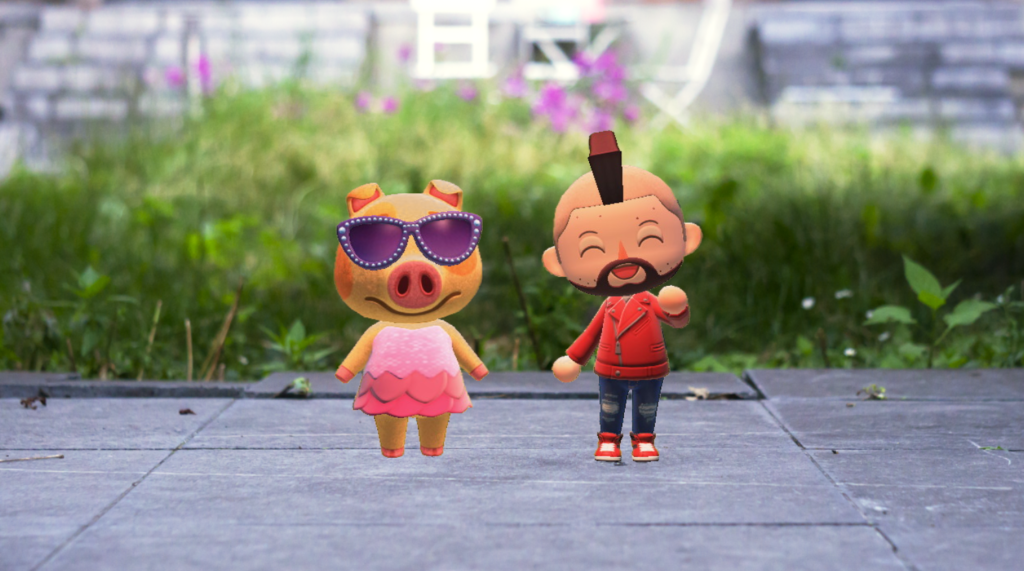
Cutting out and applying the background. Much less time spent than with the red markers and the image more intact.

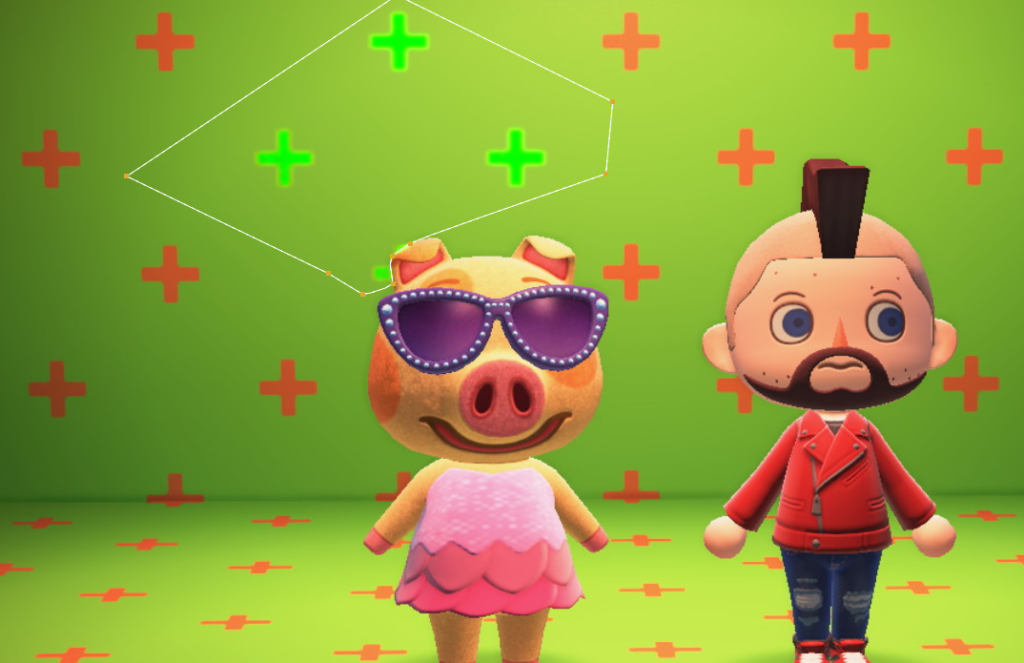
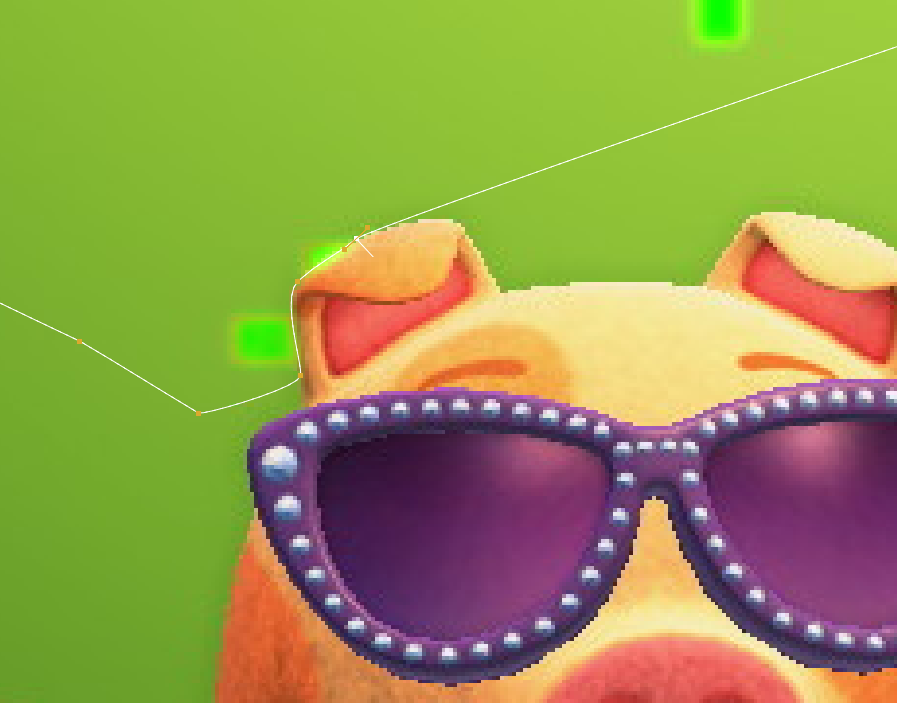
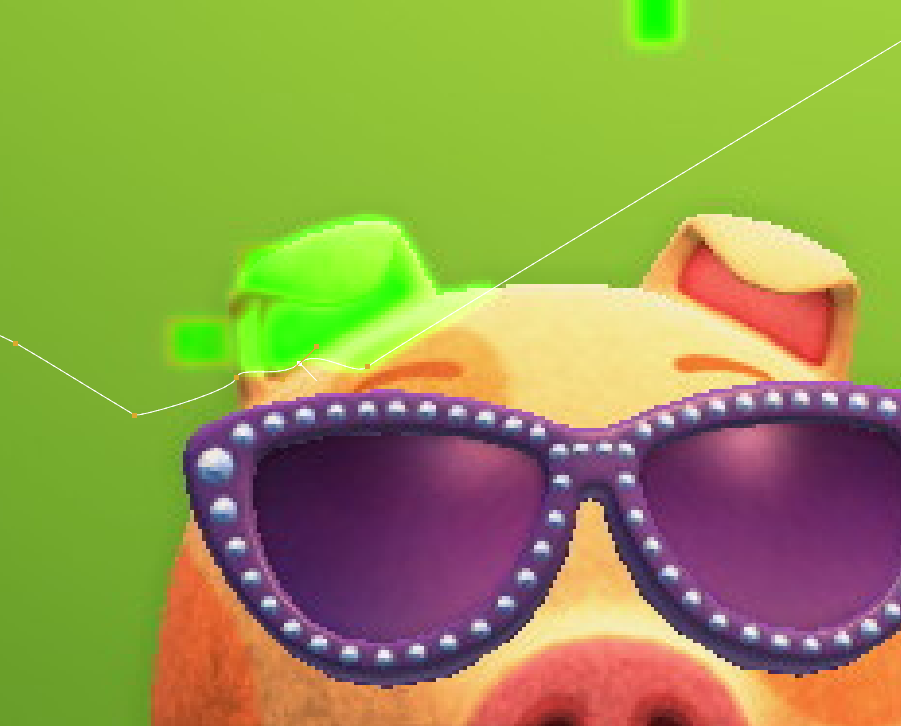
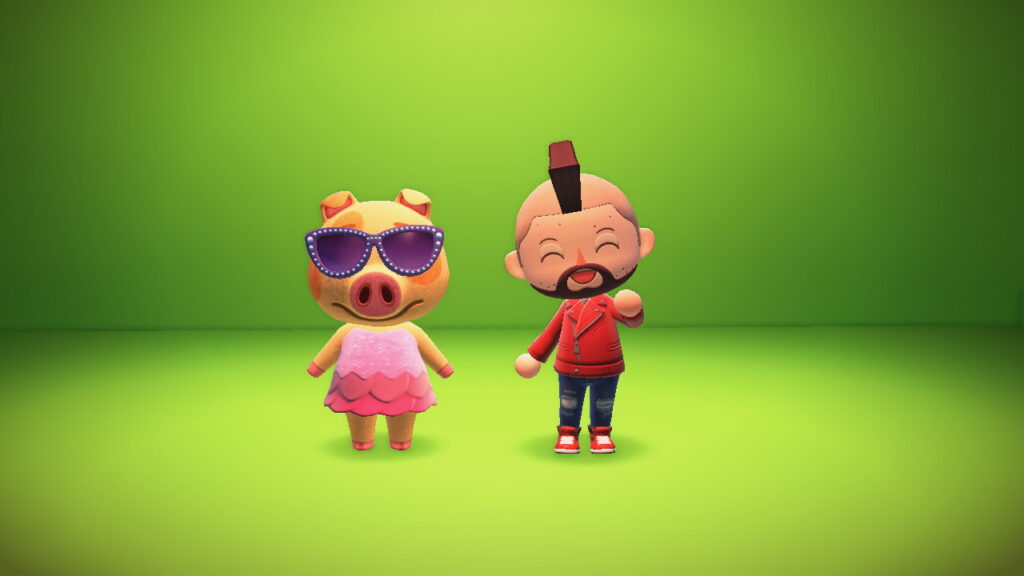
Green markers: This would be the ideal seen from a composer (hence the smile!). Marks with different shades of green. We could almost process the image (do the key) directly.
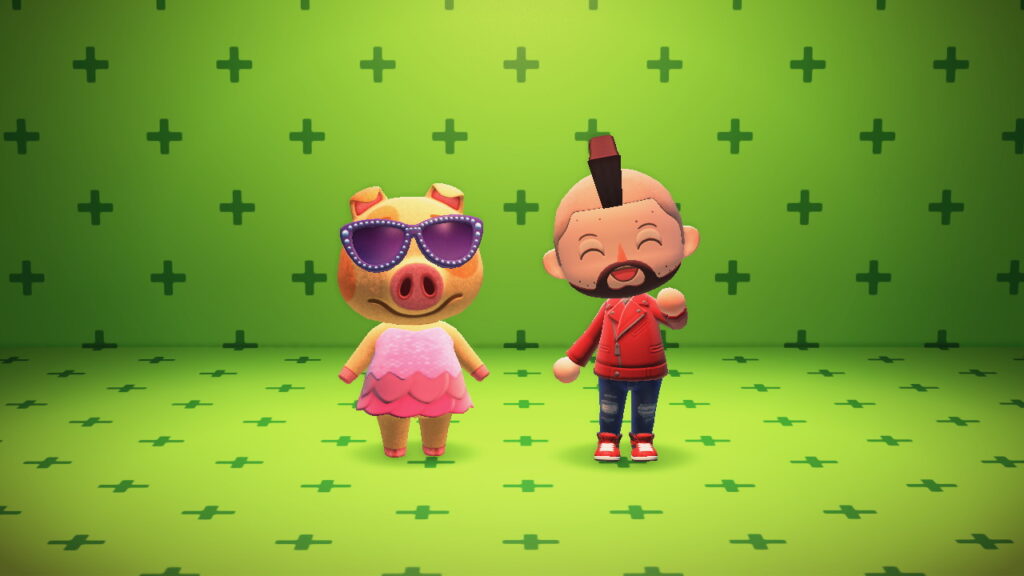
We can even venture to do some operations so that the greens add up the missing parts and thus have a more homogeneous chroma key. How nice!
Simple, much faster and the actors have been cut quite well:
An alternative way would be to use yellowish markers, because this color contains enough red to stand out if necessary but without harming too much the green of the chroma key.

And that’s it, for today we’ve settled the issue. Maybe next day I’ll do a tutorial on how to make codfish croquettes with The Legend of Zelda 😉 . Goodbye Mini Edu! Oink oink, Maggie!
You can find the original Twitter thread here (in spanish):